ESP32Cam Doorbell ESPHome
15 Jul 2023
In this article I will be using an ESP32-Cam development board to create a video doorbell, this will then be integrated into Home Assistant using ESPHome, where it can be automated.
The end solution should offer a visitor button, which once pressed triggers a sound and sends a notification to resident with a link to the video feed so they can view who is there.
Parts List
ESP32CAM
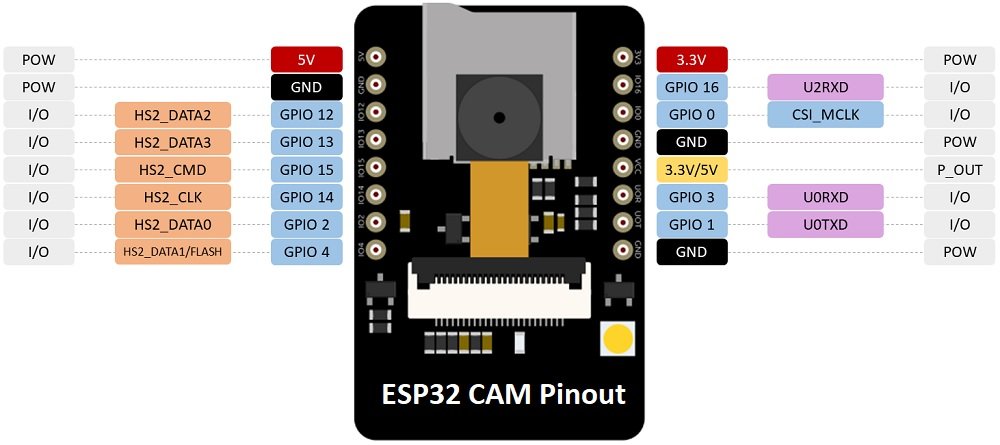
Below you’ll find a pin out diagram of the ESP32-Cam development board, this module comes with a ov2640 camera module and TF/MicroSD card reader.
Connecting the Serial adapter
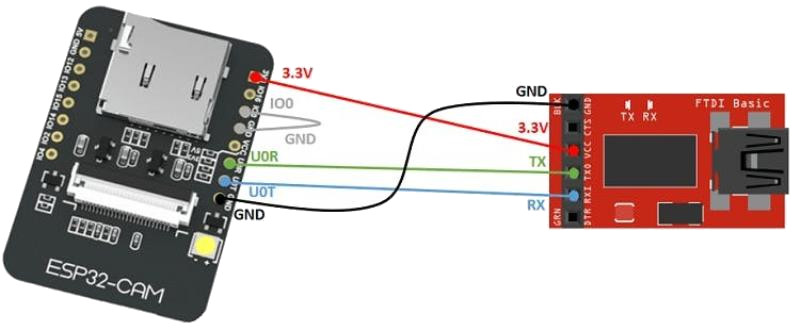
This perticular ESP32-Cam board does not come with anyway of connecting it to flash the firmware, such as a USB port. Instead we will use a serial adapter to connect to the device.
Below is a table and diagram showing how this should be connected.
| ESP32CAM | FT232 |
|---|---|
| 5v | vcc |
| GPIO 0 (displayed as 100) - GND | |
| UnR | TXD |
| U0T | RXD |
| GND | GND |
GPIO 0 needs to be connected to GND so that the device is in flashing mode, this will enable you to upload code.
ESPHome
I already have ESPHome setup in my Home Assistant instance, I will not be covering how to set this up in this article.
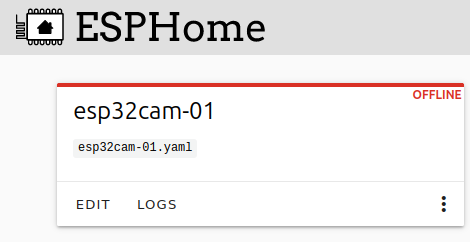
Add a new device, for demonstration purposes I have called mine “esp32cam-01”.
PlatformIO, Espressif32 boards
Below I have provided sample YAML code, I have provided comments to assist with specific values. I have also kept the resolution and frames per second low to help with cooling.
# DOORBELL - ESP32CAM

# Substitutions
substitutions:
  # Device Names
  device_name: "esp32cam-01"
  friendly_name: "esp32cam-01"
  location: "Test"
  # Icon
  main_icon: "access-point"

# Basic Config
esphome:
  name: "${device_name}"

# Board config
esp32:
  board: esp32cam

wifi:
  ssid: !secret wifi_ssid
  password: !secret wifi_password
  # override domain from .local
  domain: .home.lan
  # connect to hidden SSID
  fast_connect: On
  # Enable fallback hotspot (captive portal) in case wifi connection fails
  ap:
    ssid: "${device_name} Fallback Hotspot"
    password: !secret hotspot_wifi_password

captive_portal:

# Enable logging
logger:
# Enable Home Assistant API
api:
  encryption:
    key: "key"
# Enable over the air updates
ota:
  password: "key"

# Camera configuration
esp32_camera:
  name: "${device_name} ${location}"
  icon: mdi:cctv
  external_clock:
    pin: GPIO0
    frequency: 20MHz
  i2c_pins:
    sda: GPIO26
    scl: GPIO27
  data_pins: [GPIO5, GPIO18, GPIO19, GPIO21, GPIO36, GPIO39, GPIO34, GPIO35]
  vsync_pin: GPIO25
  href_pin: GPIO23
  pixel_clock_pin: GPIO22
  power_down_pin: GPIO32
  max_framerate: 5 fps
  idle_framerate: 0.1 fps
  resolution: 640x480
  jpeg_quality: 10
  vertical_flip: true
  horizontal_mirror: true

switch:
  #- platform: gpio
  #  name: "${device_name} - Built-in Flash"
  #  icon: "mdi:led-outline"
  #  pin: 4
  - platform: restart
    name: "${device_name} - Restart Device"
    id: restart_switch


binary_sensor:
  - platform: gpio # Physical button configuration
    pin:
      number: GPIO1
      mode: INPUT_PULLUP
      inverted: True
    name: "${device_name} - Physical Button"
    icon: "mdi:doorbell"
    on_press:
      - logger.log: "Button pressed"
  - platform: status
    name: "${device_name} - Status"
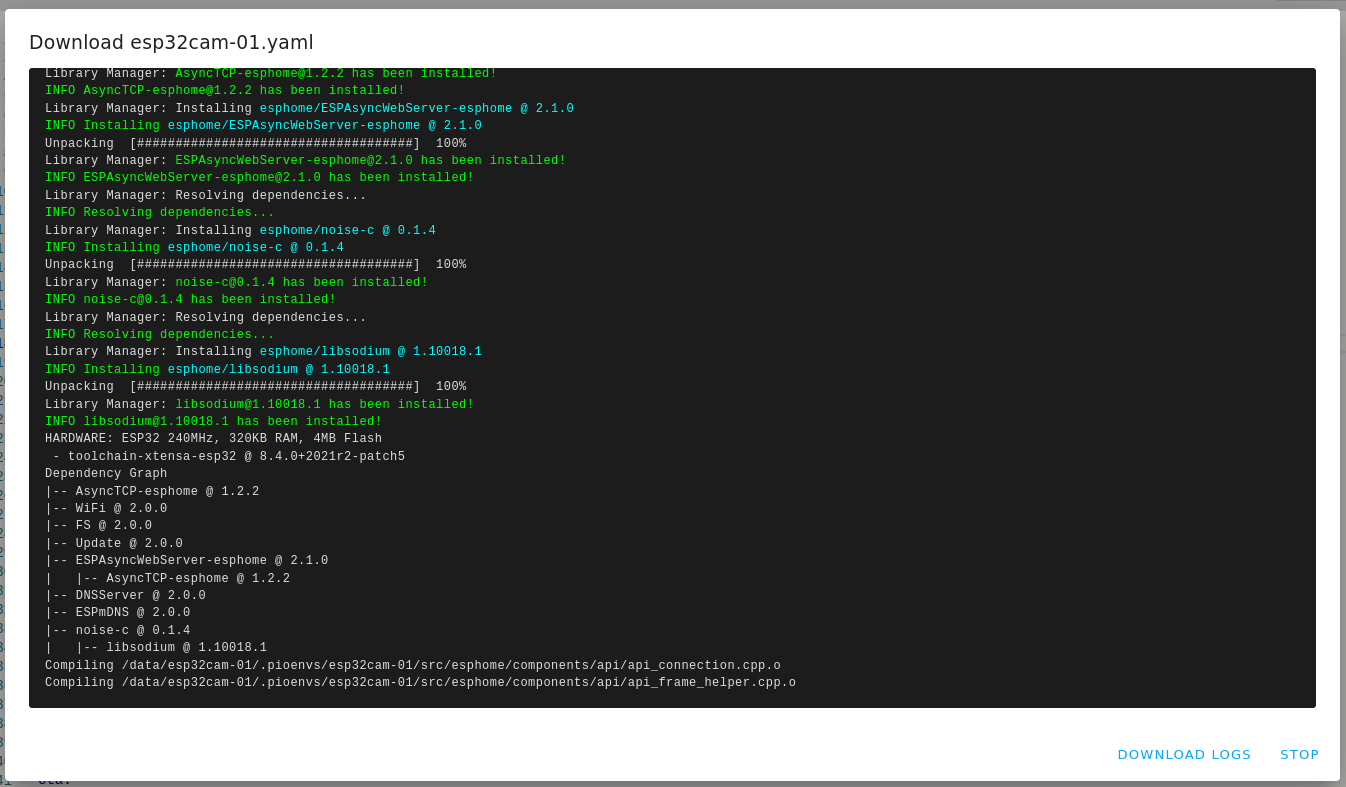
Once our ESPHome device created and configured, we can compile the file.
I’ll be using the browser USB to serial port feature, this is not available in Firefox, therefore I will use Opera, but this is also available in Chrome and Edge.
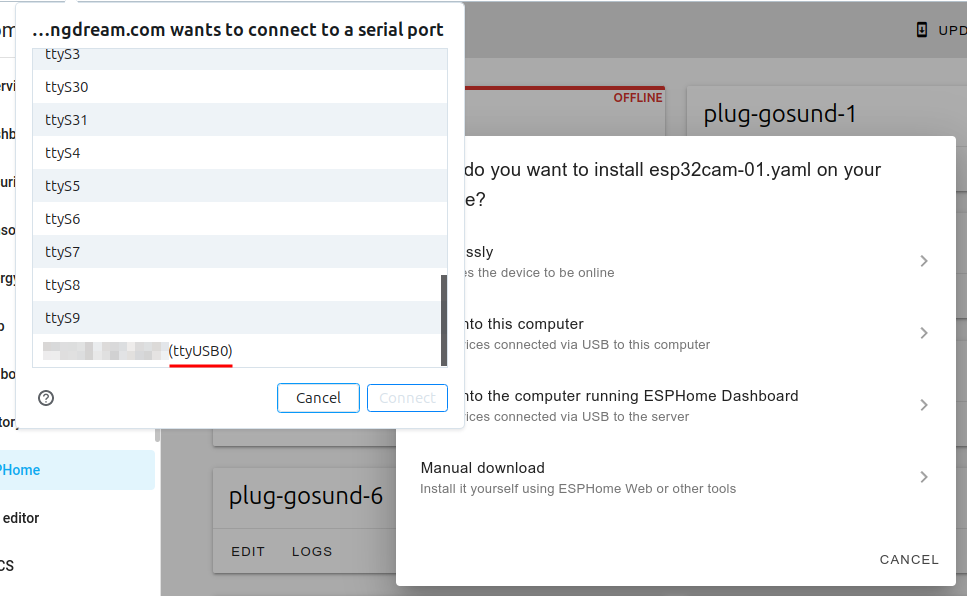
Add config and reboot the device
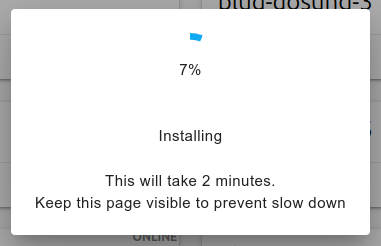
Adjustments to the code can now be sent wirelessly, and have OTA (over the air) updates applied.
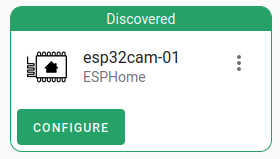
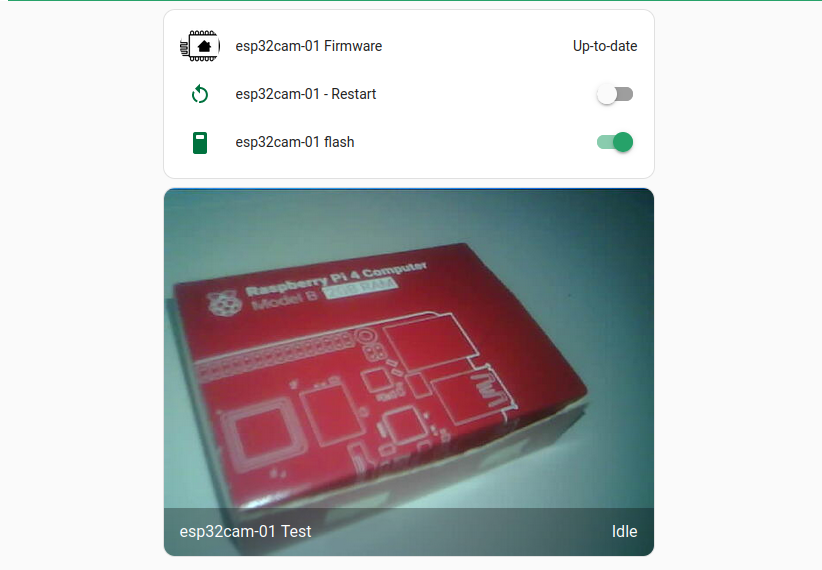
Now the device is ready to be added to Home Assistant, below I have added all the entities.
A crude doorbell notification automation could look something like this
alias: Doorbell
description: "Doorbell Notification to iOS"
trigger:
  - type: turned_on
    platform: device
    device_id: ebfad123af7ac6b9567140af4e0466d1
    entity_id: binary_sensor.esp32cam_01_physical_button
    domain: binary_sensor
    for:
      hours: 0
      minutes: 0
      seconds: 0
condition: []
action:
  - service: notify.mobile_app_phone
    data:
      title: Doorbell
      message: Ding Dong
      data:
        entity_id: camera.esp32cam_01_test
mode: single
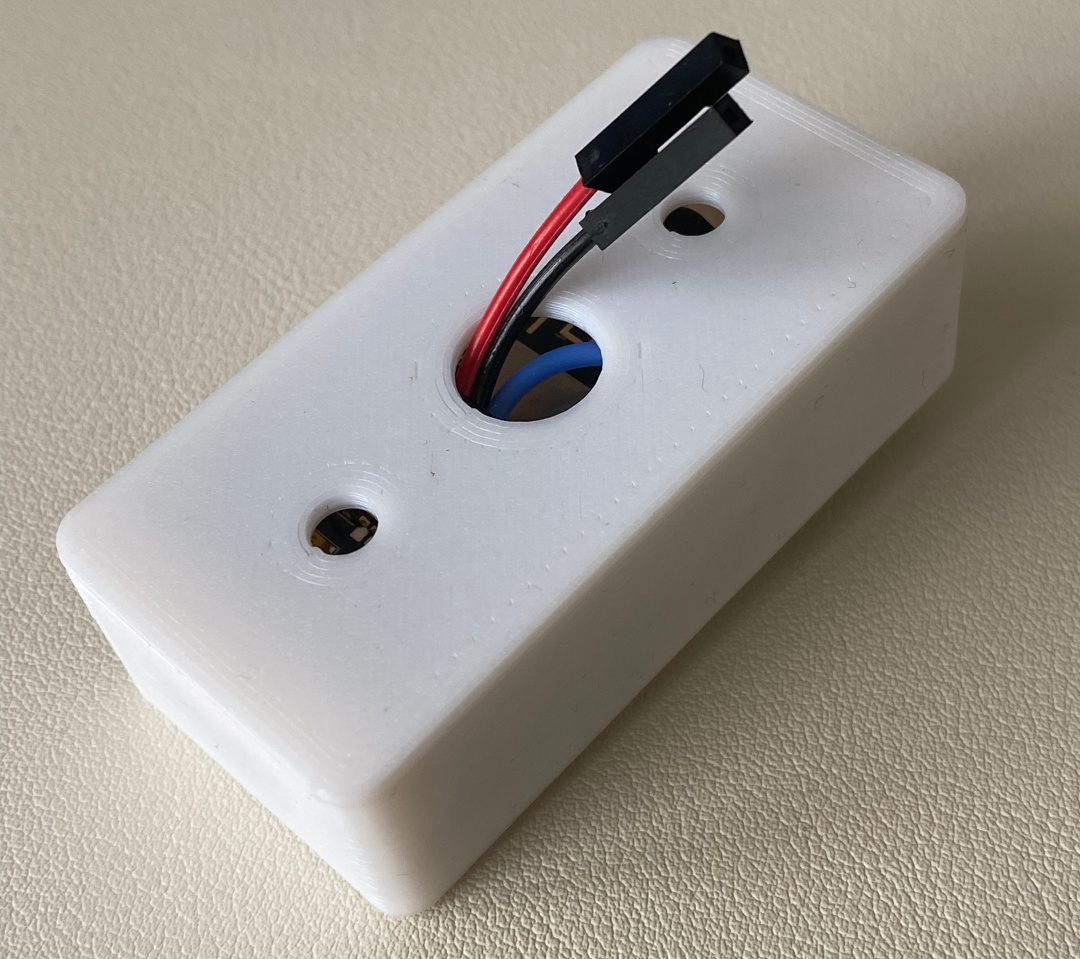
Lastly I produced a small 3D printed case using FreeCAD. - The files can be downloaded from Thingiverse.
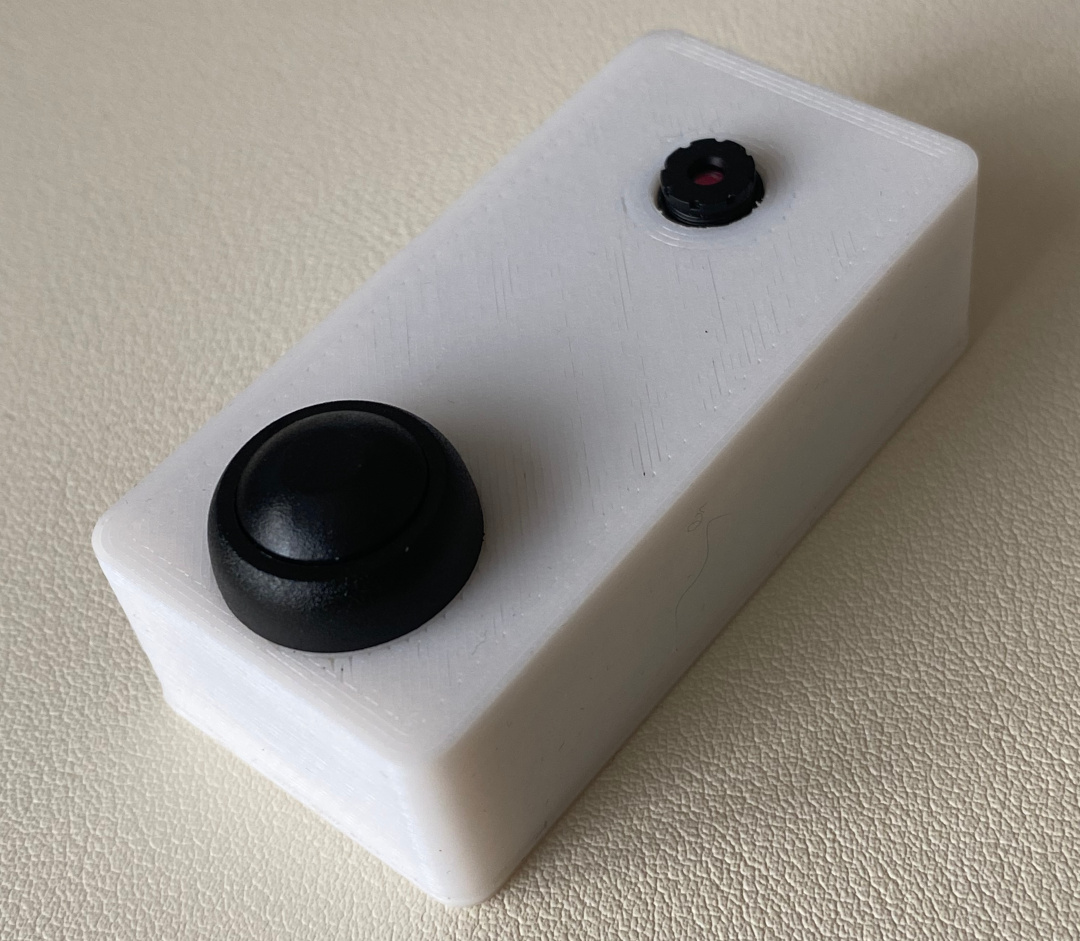
I used some jumper cables to easily connect the device with two mounting screw holes.
As 3D printers, print in layers I needed to lightly sand the case and back to allow them to slide together.
Of course the above is only a concept project, this could be implemented in a better way, allowing for a press indicator, weatherproofing and a companion chime.